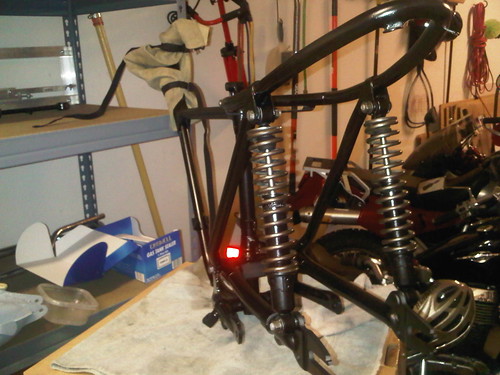
Since I'm working by myself and didn't have three or four other hands to help hold things I strapped the head to my shelving with the frame sitting on a make-shift work table (a cardboard wardrobe box with a piece of masonite for a top). It isn't perfect and would have been better if I'd have built some sort of frame holding jig, but it got the job done last night.
What you can sort of see in this picture is the completed frame with the rear sub-frame and shocks mounted. the fabricated bushings are great and everything bolted up with only a few headaches. For some reason the rear sub-frame shrank, or was bent, between disassembly and assembly. I had to put the lower bolts in then really pull on the top to get the upper mounting stud in place. I don't remember it being difficult to remove but it was quite a while back - November 2008.
I'm really happy with the results so far and can hardly wait to get the fork reassembled and the wheels on. You can't tell from the cluttered picture but I've actually cleared a spot for the rolling chassis to wait for the engine work to get finished - started first, then completed but you get the gist.
I'm energized to get things moving along more quickly on this project now and need to get on top of ordering parts for the engine work. I only need a few pieces and some gaskets to get thngs moving forward. I'd better get on that.
One more shot of the frame from another angle.

FrameAssembly3
Originally uploaded by Gym_x

No comments:
Post a Comment